Creating A Player
Creating the basic class
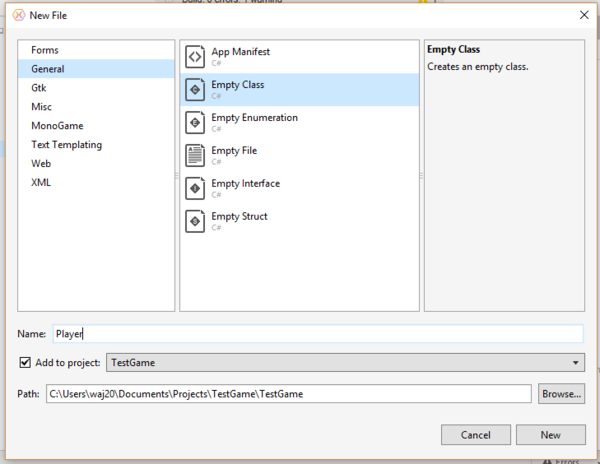
You need to create a new class, so from the main menu click File, and select New File.
You will have the following code:
 1 using System;
 2 namespace TestGame
 3 {
 4 	public class Player
 5 	{
 6 		public Player()
 7 		{
 8 		}
 9 	}
10 }
The public class Player line is the class definition, and public Player is the constructor for the class. You need to add the following lines within the using section:
using Microsoft.Xna.Framework;
using Microsoft.Xna.Framework.Graphics;
using Microsoft.Xna.Framework.Input;
This will allow the class to access the MonoGame framework and SDK. Now to add the methods to setup, update and draw the player. So add the following methods into the player class:
public void Initialize()
{

}

public void Update()
{

}

public void Draw()
{

}
Adding variables to the class
Now still inside the player class add the following variables, these will be used by the game.
// Animation representing the player
public Texture2D PlayerTexture;

// Position of the Player relative to the upper left side of the screen
public Vector2 Position;

// State of the player
public bool Active;

// Amount of hit points that player has
public int Health;

// Get the width of the player ship
public int Width
{
     get { return PlayerTexture.Width; }
}

// Get the height of the player ship
public int Height
{
     get { return PlayerTexture.Height; }
}
