GeonBit example
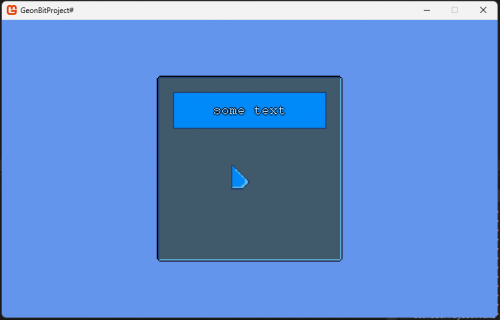
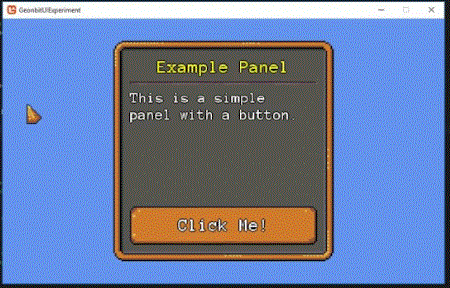
Example interface:
Contents
Install GeonBit.UI
With a MonoGame project started, use the nuget package manager to search for GeonBit.UI and install it.
To finish the install you need to edit the Content.mgcb file either in Visual Studio or notepad++. Add the following into the reference section (Check Version Number with yours):
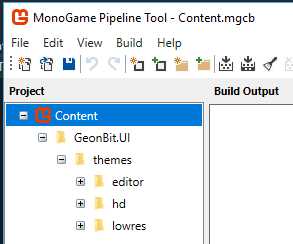
Finally you need to open the content pipeline as usual, and add the folder added within the content folder:
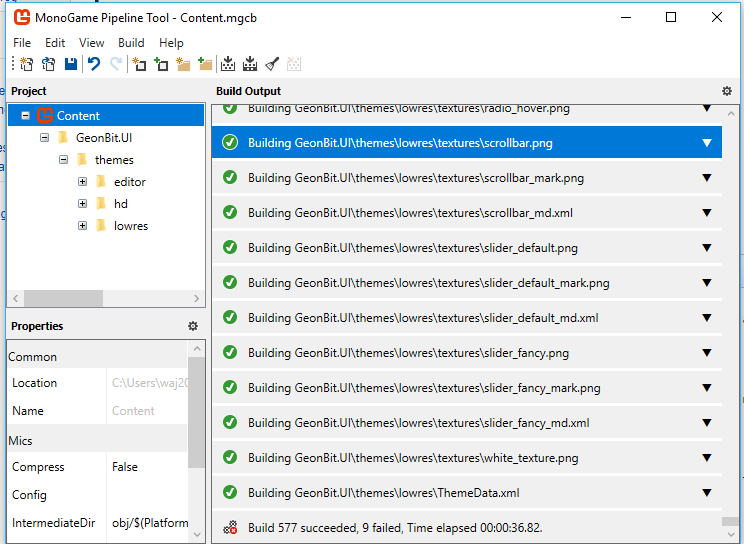
Now build the content pipeline:
Mine appears to have 9 files which failed to build, each of them are spritefonts. This is an issue with the college computers due to a missing update. However click here to download some pre-built spritefonts. Copy them into the file system created when you run your project, then look in content and GeonBit.UI. The fonts folders are within each theme.
Also the effects files (.fx) also seem to fail, so click here to download some pre-built effects. Copy them into the file system created when you run your project, then look in content and GeonBit.UI. The effects folders are within each theme.
Prebuilt Project
Empty GeonBit MonoGame Project
Changing Game1.cs
Add the following in the using section, at the top of your page:
using GeonBit.UI;
using GeonBit.UI.Entities;
if the GeonBit part is underlined, a reference hasn't be created so click on project and choose add reference. Then use the browse buttton to browse to the packages folder and then GeonBit.UI.3.0.1.2, lib, geonbitgui, and select both DataTypes.dll and GeonBitUI.dll.
Now in the initialize section of Game1.cs add the following:
// GeonBit.UI: Init the UI manager using the "hd" built-in theme
UserInterface.Initialize(Content, BuiltinThemes.hd);

// GeonBit.UI: tbd create your GUI layouts here..
Now in the Update section you need to add the following:
UserInterface.Active.Update(gameTime);
Now within the Draw section you need to add the following:
UserInterface.Active.Draw(spriteBatch);
At this stage you should have a project which will build and run, and will just show the cursor when started.
Adding a Panel
In the initialize section of Game1.cs add the following below the UserInterface.Initialize:
Panel panel = new Panel(new Vector2(300, 300));
UserInterface.Active.AddEntity(panel);
Adding a Header
Now you have a panel you can add components to it, for example a heading:
// create a simple header and add it to a panel we created before
Header header = new Header("This Is Header");
panel.AddChild(header);
Adding a Paragraph
// create a simple paragraph and add it to a panel we created before
Paragraph paragraph = new Paragraph("Hello world!");
panel.AddChild(paragraph);
Adding a Button
// create a button with default skin and "Default" label on it, and add it to a panel we created before
Button button = new Button("Default");
panel.AddChild(button);

button.OnClick = (Entity btn) =>
{
    panel.ClearChildren();
    paragraph = new Paragraph("test");
    panel.AddChild(paragraph);
};
Other Components
GeonBit can also do sliders, radio buttons, checkboxs, images, icons, progress bars, text input and many more. For more information click the link below
https://github.com/RonenNess/GeonBit.UI/blob/master/README.md#install


