Creating a Flask Web App
Flask can be used to create a Web App, which can run from a server. You can obviously run this locally and use it as if it was fully live, this will allow you to develop the web app.
Setup - Simple Method
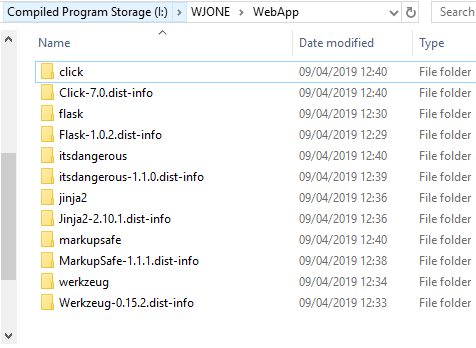
You will need to create a new folder for your web app:
Download this zip file and extract all of the contents to your new folder:
Now open IDLE, and from the file menu select new file. Now type in the following code:
from flask import Flask

app = Flask(__name__)

@app.route("/")
def hello():
    return "Hello World!"

if __name__ == "__main__":
    app.run()
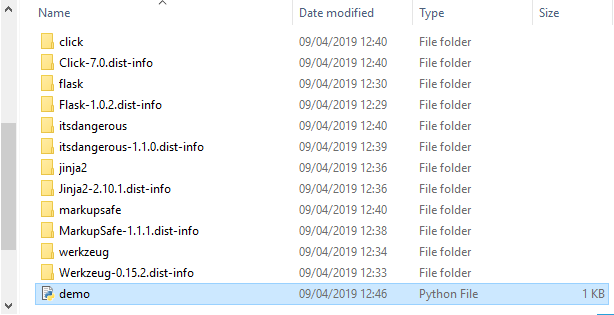
Save this has demo.py, and it must be in the folder you created:
If you run the module from IDLE it will display errors, you should be able to double click on the demo.py file in the folder:
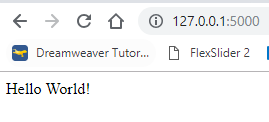
Finally open up your web browser and view the location displayed above:
Setup - Visual Studio
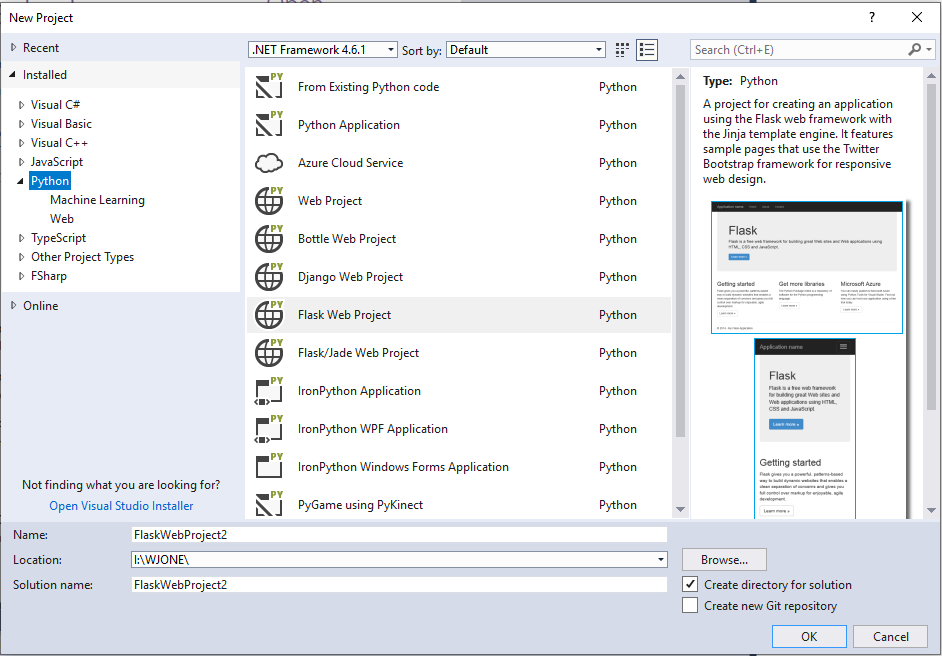
Create a new project in Visual Studio, look in the python section and Flask:
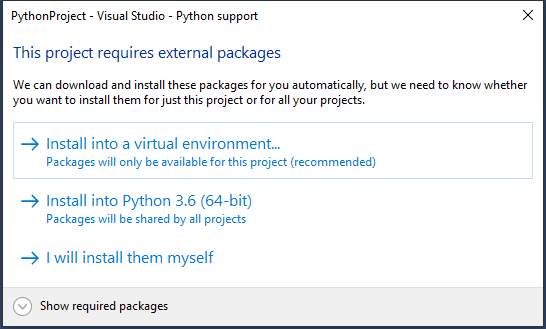
On your own machines, this will install all of the appropriate packages into your python installation if you select 'Install into Python'. However in College will will need to do a bit more, and instead choose 'install into virtual environment':
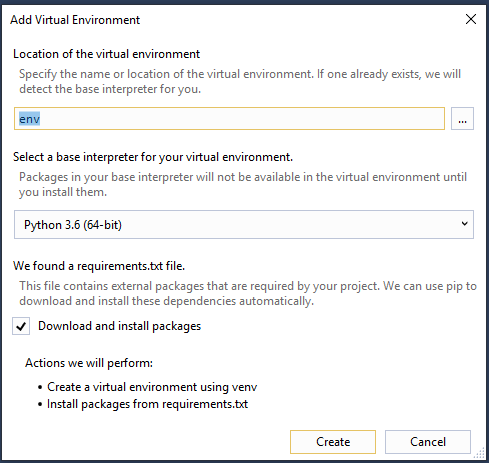
In College we will need see this window:
You can untick the install packages option, because this will fail on college computers.
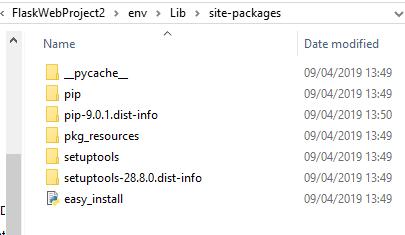
Now, find the folder within your project folder:
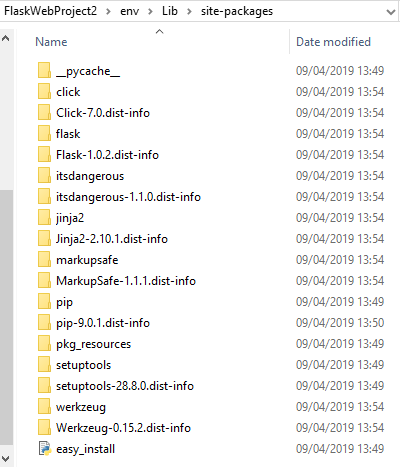
Now download this zip file and extract its contents into this folder:
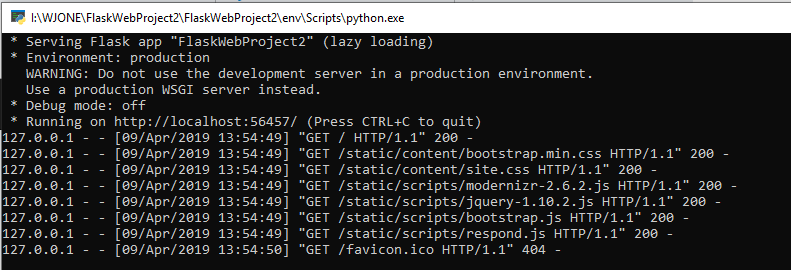
Now click start in Visual Studio, you should see something like this:
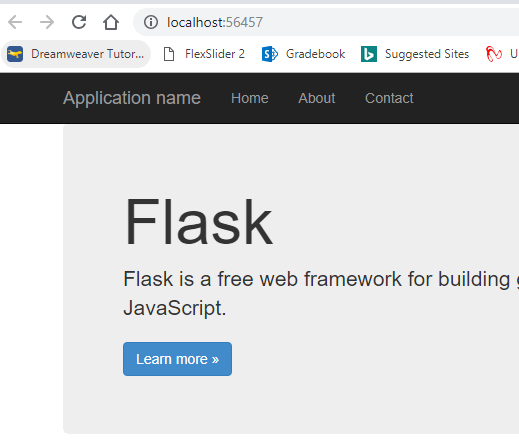
It should automatically open a browser, it should already point to your web app:
Adding MySQL Support
Download the following zip file and extract it into your site-packages folder. If you are using your own machine installing flask-mysql an pymysql will do the same thing.
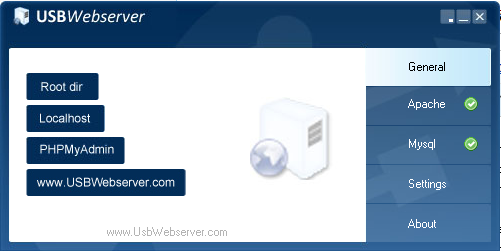
We need to run the USBWebserver, in College this must be on your compiled storage folder (download it HERE). When you run the executable you should get 2 firewall messages, click allow. If you get no firewall messages on the first run, then your system is preventing it from running:
This shows USBWebserver running and fully active.
You should now be able to add the following code to import MySQL and connect to a database:
from flaskext.mysql import MySQL

mysql = MySQL()

# MySQL configurations
app.config['MYSQL_DATABASE_USER'] = 'root'
app.config['MYSQL_DATABASE_PASSWORD'] = 'usbw'
app.config['MYSQL_DATABASE_DB'] = 'Test'
app.config['MYSQL_DATABASE_HOST'] = 'localhost'
mysql.init_app(app)

conn = mysql.connect()

