Using SpriteFont
Contents
Open the Content Pipeline
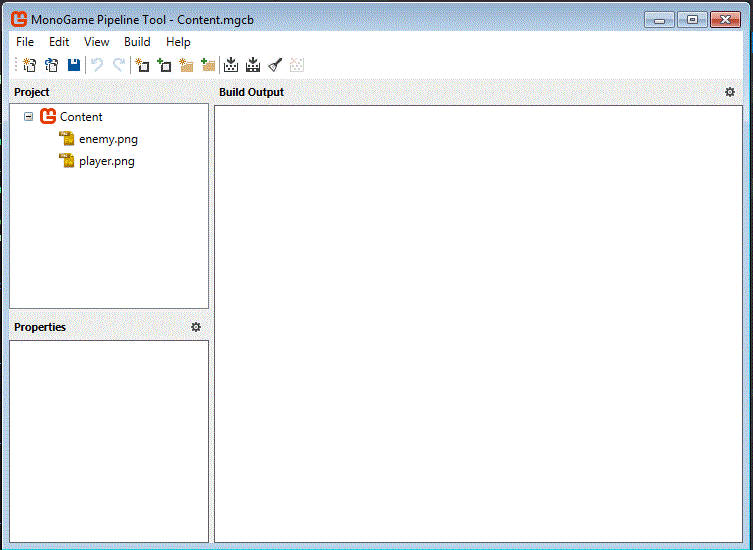
Double click the Content.MGCB file within the project solution explorer:
this will open the Content Pipeline:
Add New Item
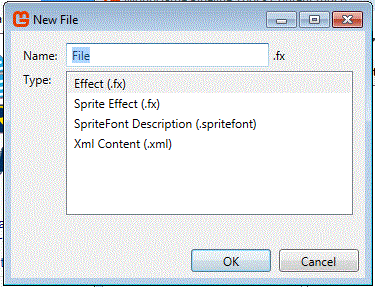
Click the add new item icon, you will then see the following options:
Select SpriteFont, and make sure you enter a name for your new SpriteFont.
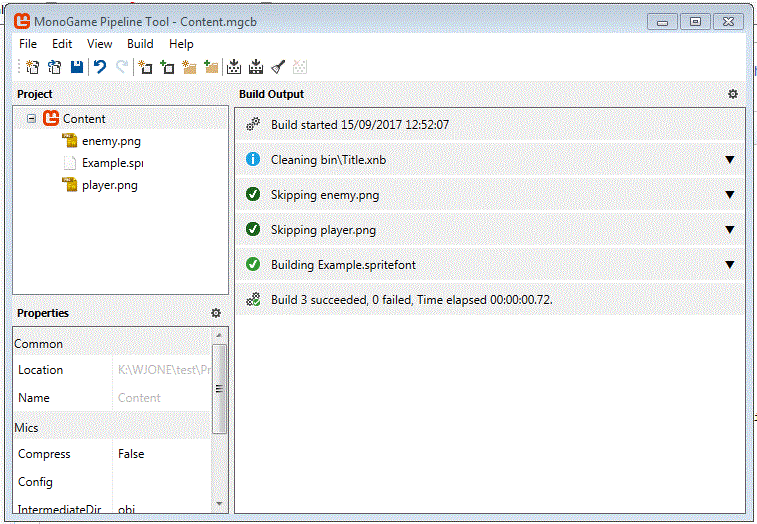
You new SpriteFont will now be displayed in the pipeline:
Changing the font options
You will need to browse to your project content folder and edit the created file:
The file is XML, and you can clearly see the options currently set, the above image shows the current font. You can simply change the current value for another font. The same is true for the other values in the file such as size, the style section even gives you pointers.
Build the pipeline
You now need to click the build button to create the appropriate XNB files:
Using the SpriteFont
Add the following variables to your other definitions:
private SpriteFont font;
private int score = 0;
Now in the LoadContent section you need to load the SpriteFont:
font = Content.Load<SpriteFont>("Example");
If you get a content not found error, copy the XNB file from the content folder into the project bin/debug/content folder.
Now in the Draw method add the following to draw the text to the screen:
spriteBatch.DrawString(font, "Score", new Vector2(100, 100), Color.Black);
It must go between the SpriteBatch.Begin and the SpriteBatch.End.


